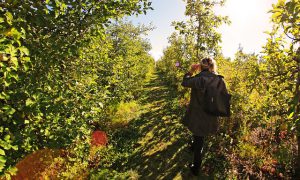
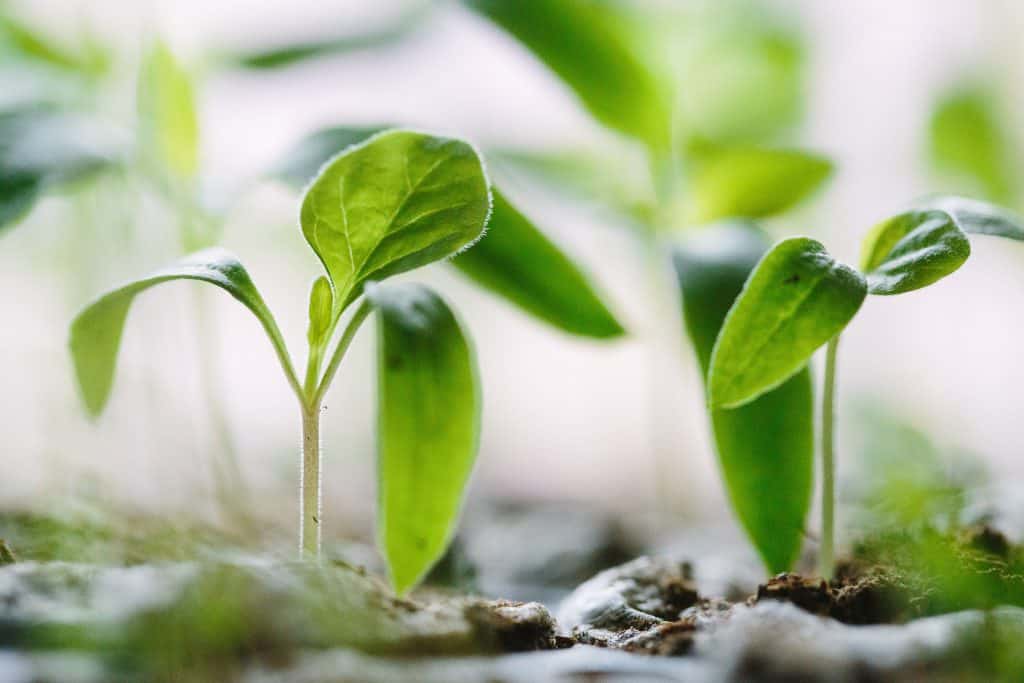
Although growing your veggies from seed can take a little effort, remember that this method of planting offers a number of benefits for home gardeners, too. First, more varieties are actually readily available as seeds as compared to full-grown plants. Besides, not only that growing your vegetables from seed is cheaper, you are also getting a known quality since you grew them yourself.
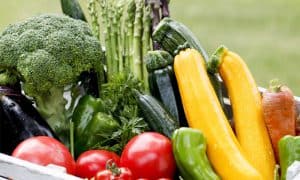
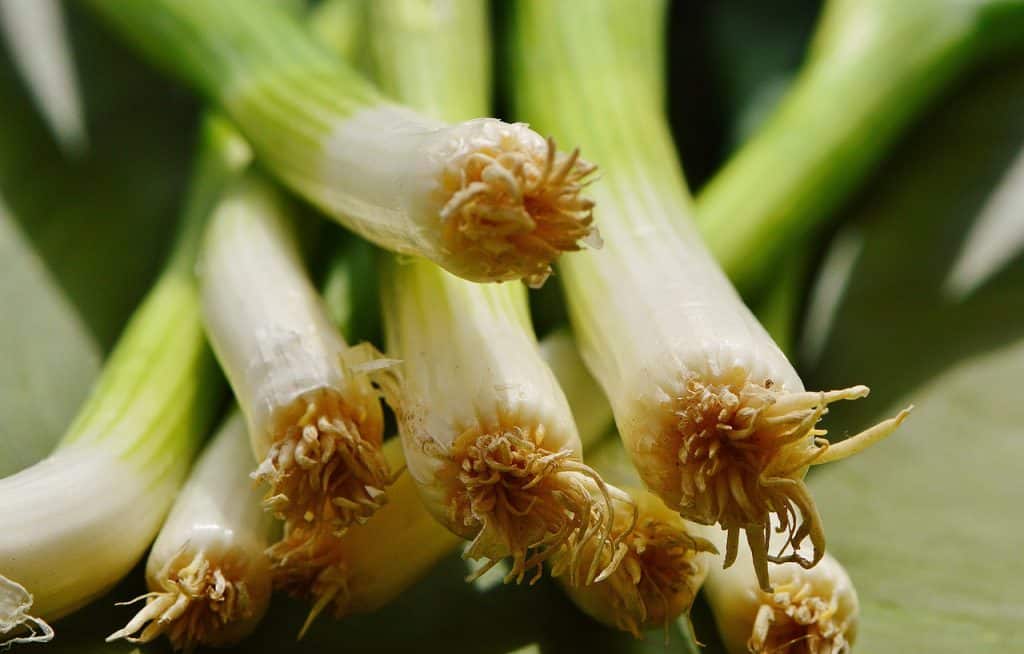
- Time it right and choose the right plants. Timing is everything so calculate when to sow your seeds by determining when (in relation to the date where there is no frost) in springtime you ought to start planting them. Note that some veggies lend themselves to home germination a lot better than others. These include broccoli, basil, cauliflower, , leeks, cabbage, onions, lettuce, tomatoes, and peppers.
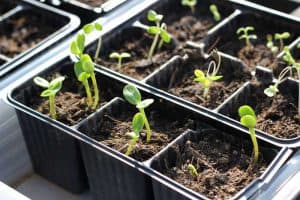
- Use the appropriate containers. While biodegradable pots generally work great, you may opt to reuse the nursery flats you have last year (if you still have them). If not, any container will do so long as it’s 2 to 3 inches deep. Just don’t forget to provide for its drainage by punching holes into the bottom of the containers, and then setting them into trays. Lastly, protect these against any potential plant disease by cleaning all used containers thoroughly.
- Mix good dirt and always sow carefully. You can either create your own seed-starting mix or buy bags of it in the market. Before you sow the seeds, don’t forget to moisten your medium in the containers. After this, drop the plant seeds onto the surface of the mix, then space them as evenly as possible. Cover the seeds to a depth approximately three times your seeds’ thickness. However, some seeds should not be covered at all since they require light to germinate.
- Sprinkle some natural fungicides and keep the seeds warm, damp, and well-lit. Top everything off with milled sphagnum moss which is a natural fungicide that offers protection against damping off. Most seeds germinate pretty well at about 70 degrees. To keep them adequately warm, cover the flats with glass or plastic wraps to keep its environment humid then place them near a heat mat or vent designed for seed-starting. In order for the mix to draw up the moisture from the bottom, set the trays or mist it with spray bottle. Now, at the first signs of sprouting, remove the cover and reposition the containers to a spot where there is adequate sunlight – perhaps a sunny window or underneath two ordinary fluorescent shop lights with 40-watt bulb each.
- Cool the seeds down then fertilize. Seedlings don’t necessarily have to be kept as warm as germinating seeds so move them away from air vents or heating mats the moment you have noticed that the seeds have germinated. As soon as the seedlings get their first true leaves, begin fertilizing them.
- Give them enough space to grow and toughen them up. If your seedlings have started crowding one another or have already outgrown their containers, start moving them into larger pots full of a mix that includes nutrient-rich compost. To help your seedlings grow strong and stocky, ruffle them lightly once or twice each day. You can also setup a small fan to gently but continuously blow on them. Approximately one week before your little plants are to be moved outside, you have to start getting them used to the big world’s harsh conditions. These involve moving the containers on a warm spring day to your porch (or any adequately shaded, well-protected place at home) for a few hours every single day. Unless the weather is bad, gradually improve your plant’s exposure to sun and breeze. Leave them out overnight at the end of the week, and then start transplanting them into your garden.


Click here to find out How to Grow Organic Herbs from Seeds